[Notion] 디데이 위젯 넣기
다양한 노션 위젯 지원 프로그램을 노션의 embed 기능을 사용해 탑재하면, 더 예쁜 노션 페이지를 만들 수 있다!
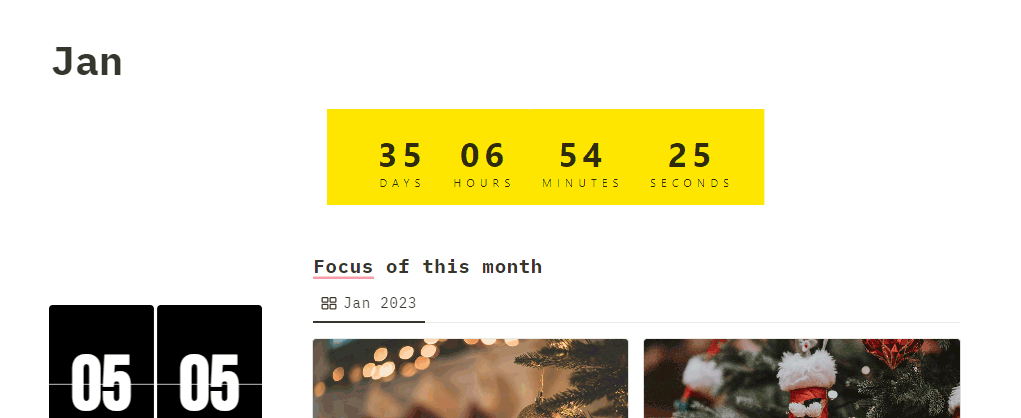
먼슬리 플래너에는 Notion Widgets를 사용한 위젯을
2023년 전체 페이지에는 Apption을 이용한 방법을 사용하려고 함.
방법1. Notions Widgets
모든 페이지에 위젯을 추가할때는 매번 새로 임베드할 링크를 만들어줘야한다.
계정 생성 / 로그인
위에 링크 통해서 들어가면 첫 시작 페이지가 나오고 로그인 해주자.
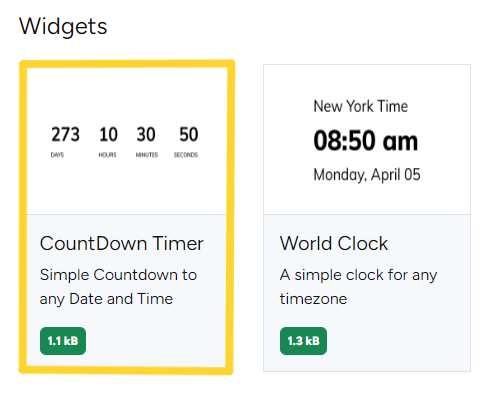
아래로 내리면 사용할 수 있는 위젯 종류가 나오는데..
Notion widget은 방법이 Apption에 비해 간단한 반면, 자유도가 낮고 사용할만한 위젯 종류가 정말 적다. 저 두개가 다임.
CountDown Timer 클릭
한달이 얼마나 남았는지 표시하고 싶으니까 난 카운트다운 위젯을 선택
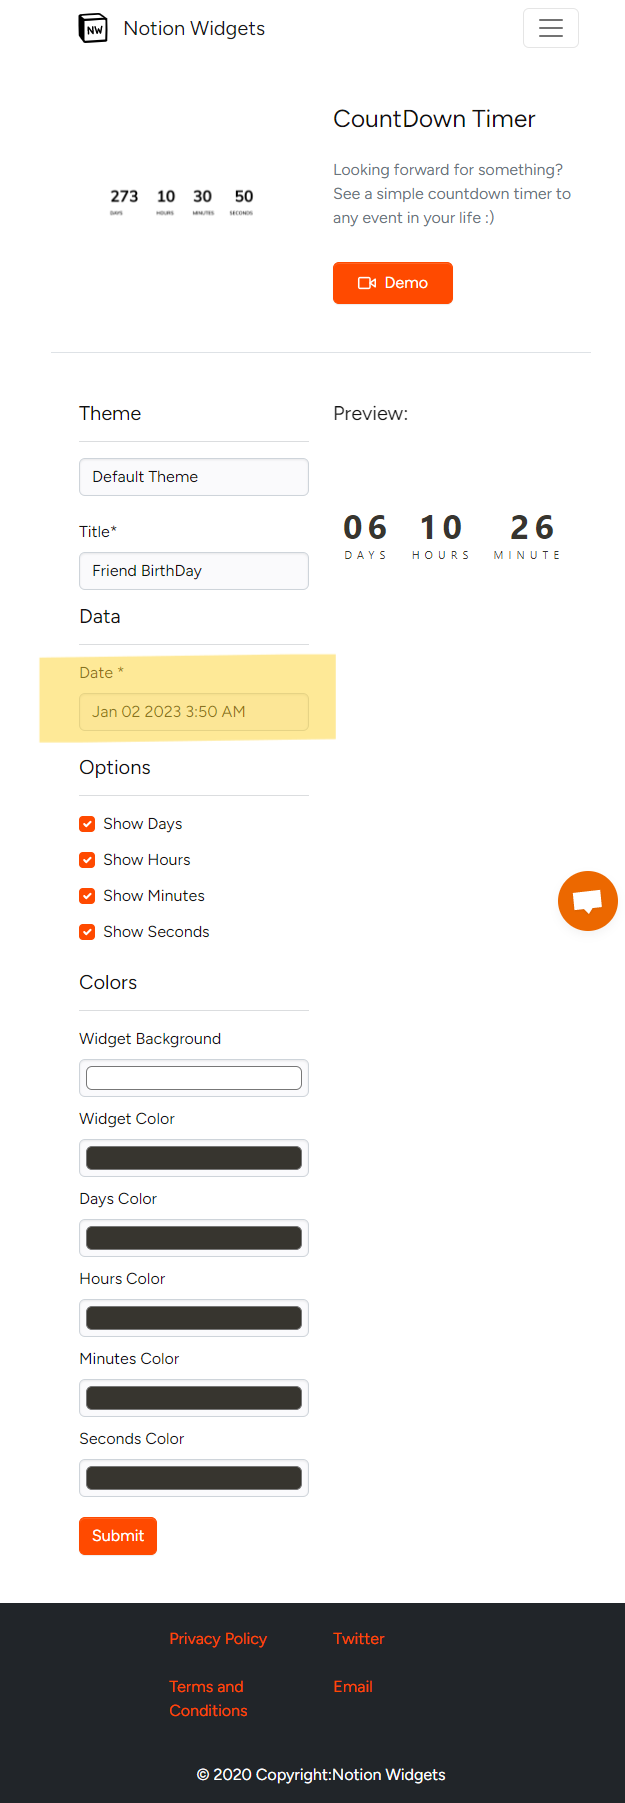
커스텀 할 수 있는 화면이 나온다. 여기서 D-day(Date)를 설정할 수 있고, 색깔 같은 것도 변경 가능하다.
난 깔끔한게 좋아서 색은 변경하지 않고 날짜만 설정하고 넘어감. 오른쪽에 preview가 나오니까 확인해가면서 맘대로 바꿔보길!
커스텀이 완료 됐다면 맨 아래 Submit버튼 클릭!!
완성된 링크 Notion 페이지에 Embed
잠시 기다리면 페이지 전환되면서 위젯이 만들어진걸 확인할 수 있다.
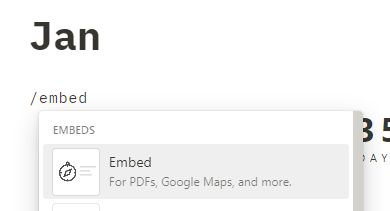
Embed Link를 복사(ctrl+C)해서 Notion 페이지, 원하는 위치에 Embed해준다.
/Embed
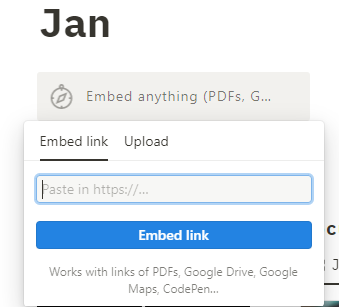
복사해온 링크 입력
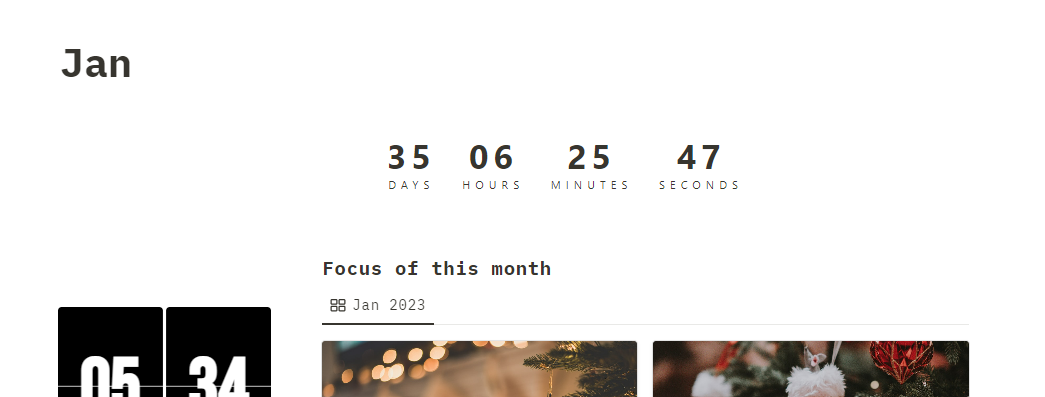
사이즈 조절 및 완성!
방법2. Apption
Apption에는 카운트다운 위젯말고도 다양한 노션 위젯이 있다. 시간되면 둘러보길
Apption 카운트다운 위젯의 장점은 코드로 정말 내맘대로 위젯을 만들어서 넣을 수 있다는것!
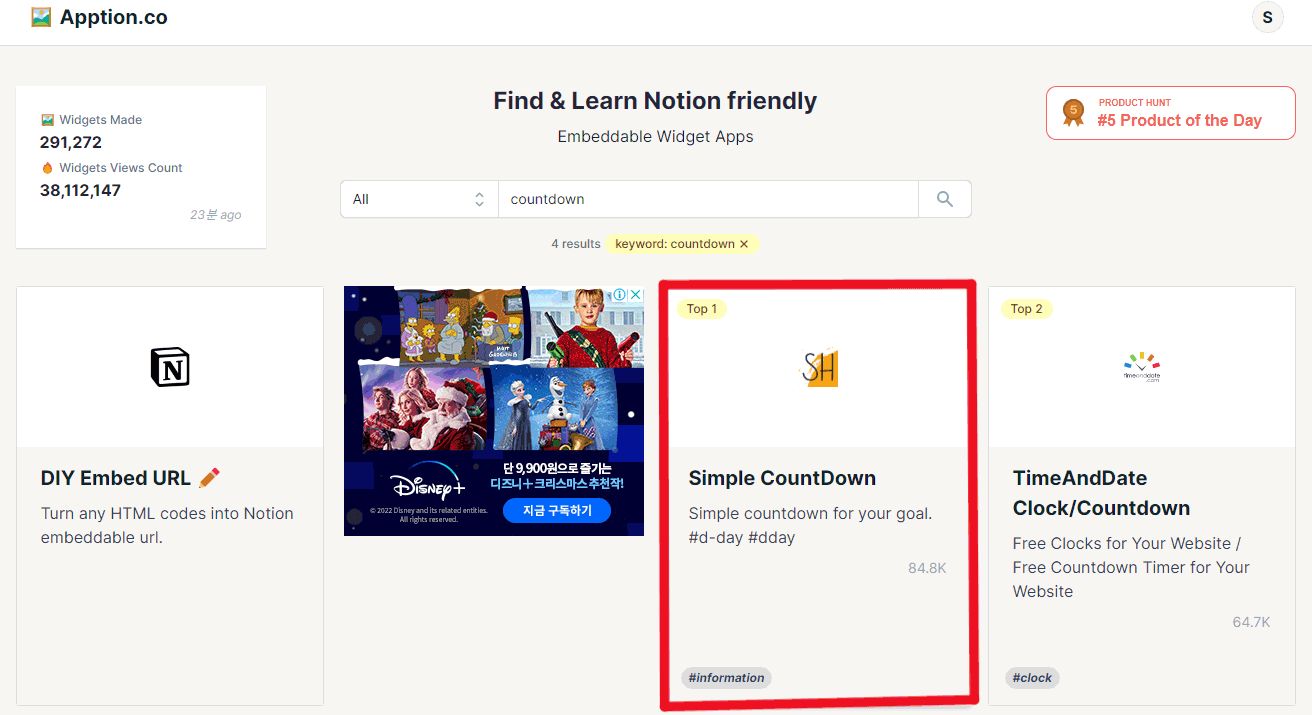
검색창에 ‘Countdown’ 검색 > Simple CountDown 선택
Apption도 로그인 해야한다. 계정이 없다면 만들자.
제일 처음 페이지의 검색창에 원하는 카운트다운 위젯을 검색해보자.
우리가 사용한 위젯의 이름은 Simple CountDown
Source code 가져와서 위젯 꾸미기
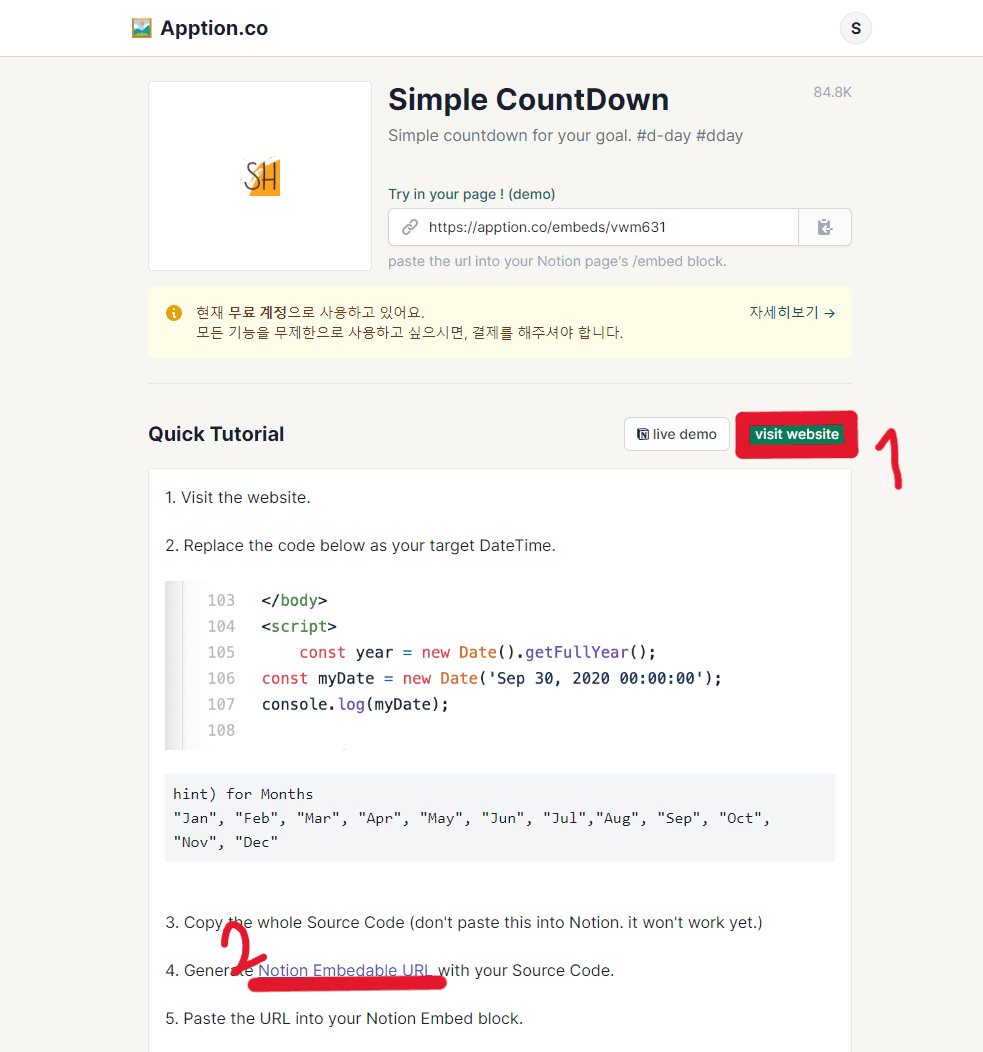
아래 사용법이 잘 나와있긴한데.. 일단 Simple CountDown의 source code를 가져와야한다. 오른쪽에 View website 버튼을 누르면 깃헙 페이지로 넘어간다
👉 바로가기 ShoroukAziz/notion_widgets/CountDown git hub code
🐝 Source code 바로 보기: 내 버전
1
2
3
4
5
6
7
8
9
10
11
12
13
14
15
16
17
18
19
20
21
22
23
24
25
26
27
28
29
30
31
32
33
34
35
36
37
38
39
40
41
42
43
44
45
46
47
48
49
50
51
52
53
54
55
56
57
58
59
60
61
62
63
64
65
66
67
68
69
70
71
72
73
74
75
76
77
78
79
80
81
82
83
84
85
86
87
88
89
90
91
92
93
94
95
96
97
98
99
100
101
102
103
104
105
106
107
108
109
110
111
112
113
114
115
116
117
118
119
120
121
122
123
124
125
126
127
128
129
130
131
132
133
<!DOCTYPE html>
<html lang="en">
<head>
    <meta charset="UTF-8">
    <meta name="viewport" content="width=device-width, initial-scale=1.0">
    <link rel="stylesheet" href="https://fonts.googleapis.com/css?family=Lato:400,700|Montserrat:900">
    <title>Document</title>
    <style>

body{
    background-color: white;
}

#timer {
  color: #000000;
  text-align: center;
  text-transform: uppercase;
  font-family: 'Lato', sans-serif;
  font-size: .7em;
  letter-spacing: 5px;
}

.days, .hours, .minutes, .seconds {
  display: inline-block;
  padding: 20px;
  width: 100px;
  border-radius: 5px;
}

.days {
  background: #FFFFFF;
}

.hours {
  background: #FFFFFF;
}

.minutes {
  background: #FFFFFF;
}

.seconds {
  background: #FFFFFF;
}

.numbers {
  font-family: 'Montserrat', sans-serif;
  color:  #000000;
  font-size: 4em;
  text-align: center;
}

.white {
  position: absolute;
  background:  #eeeeee;
  height: 85px;
  width: 75px;
  left: 30%;
  top: 2%;
}

.red {
  position: absolute;
  background:  #EF2F3C;
  left: 18%;
  top: 9%;
  height: 65px;
  width: 70px;

}

.blue {
  position: absolute;
  background:  #276FBF;
  height: 80px;
  width: 80px;
  left: 60%;
  top: 5%;


}


    </style>
</head>
<body>

<div id="timer">

    <div class="days">
        <div id="days" class="numbers "> </div>days</div>
      <div class="hours">
        <div  id="hours" class="numbers"> </div>hours</div>
      <div class="minutes">
        <div  id="minutes" class="numbers"> </div>minutes</div>
      <div   class="seconds">
        <div id="seconds" class="numbers"> </div>seconds</div>
      </div>

</div>

</body>
<script>
    const year = new Date().getFullYear();
const myDate = new Date('Jan 01, 2024 00:00:00');
console.log(myDate);

// countdown
let timer = setInterval(function() {

  // get today's date
  const today = new Date().getTime();

  // get the difference
  const diff = myDate - today;

  // math
  let days = Math.floor(diff / (1000 * 60 * 60 * 24));
  let hours = Math.floor((diff % (1000 * 60 * 60 * 24)) / (1000 * 60 * 60));
  let minutes = Math.floor((diff % (1000 * 60 * 60)) / (1000 * 60));
  let seconds = Math.floor((diff % (1000 * 60)) / 1000);

  // display
  document.getElementById("days").innerHTML=days
  document.getElementById("hours").innerHTML=hours
  document.getElementById("minutes").innerHTML=minutes
  document.getElementById("seconds").innerHTML=seconds


}, 1);
</script>
</html>
Source code를 text editor같은 곳에 복사붙여넣기 해서 입맛대로 수정하면 된다. (line num은 오리지널 github코드 버전)
- D-day 수정: #106
const myDate = new Date('Oct 15, 2024 00:00:00'); - 아래 작은 글씨 색 (DAYS, HOURS, etc.): #15
color: #eeeeee; - 위에 큰 글씨 숫자: #49
color: #183059;
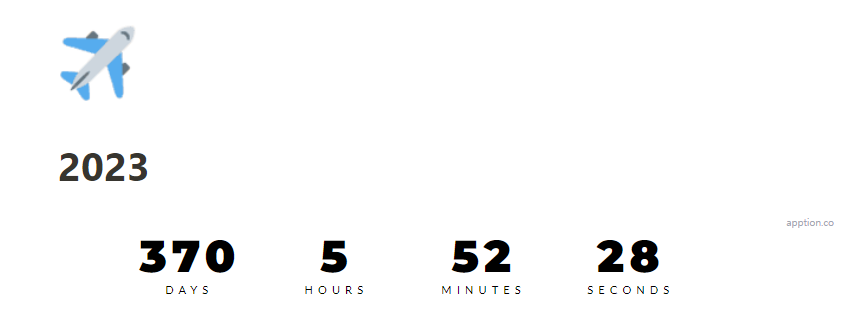
그냥 원래 코드에서 날짜만 변경하면 이렇게 되는데
나는 깔끔한 블랙엔 화이트가 좋아서 다 변경했다.
위젯 생성 및 Embed
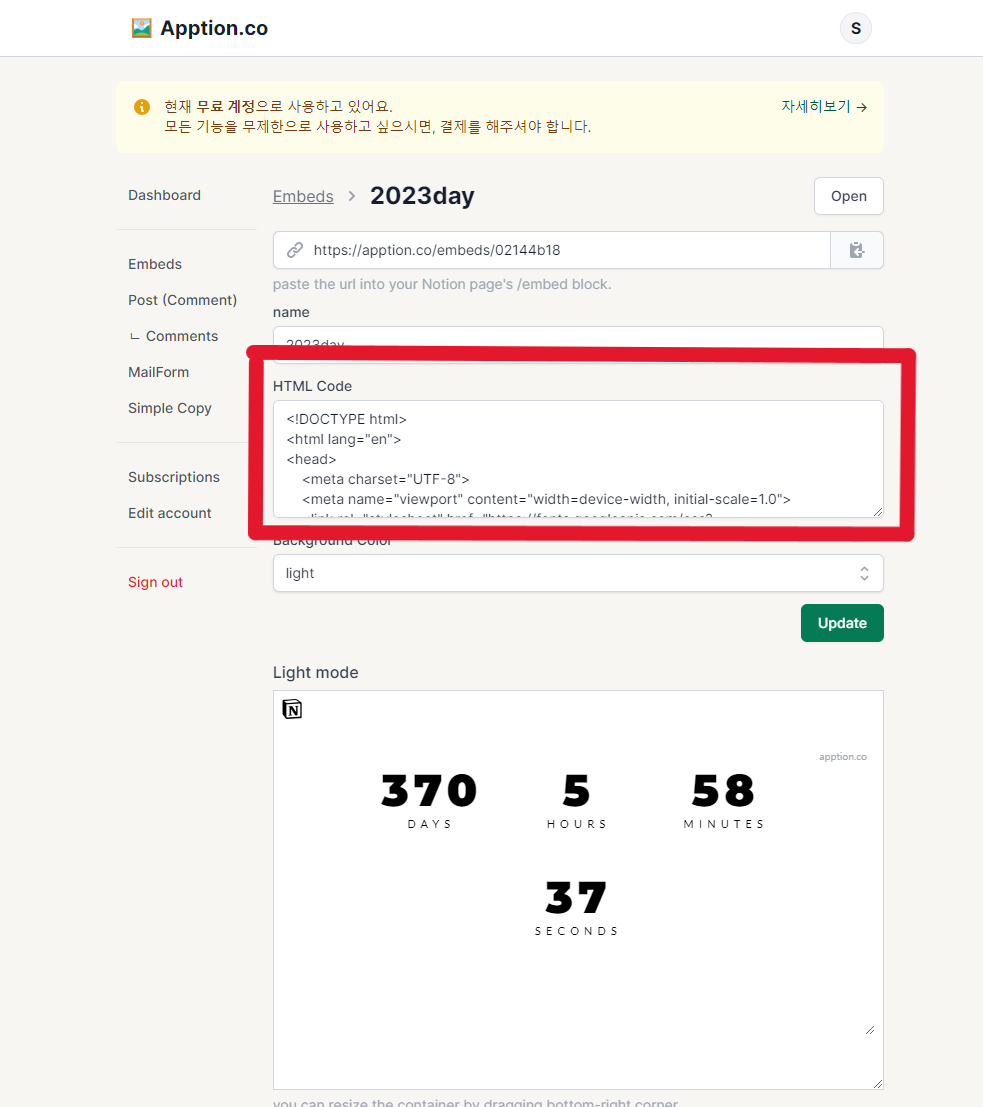
코드 다 수정했으면, 튜토리얼 페이지의 4번 Notion Embedable URL링크 눌러서 위젯을 생성한다.
중간에 HTML code 부분에 위에서 수정한 코드 붙여넣기(ctrl+v) 해주면 됨. 아래에 미리보기로 디자인 확인하고 다시 수정할 수도 있다.
완성 됐으면 맨 위의 링크를 복사해서 아까처럼 노션 페이지에 embed해주면 완성!!!
주의사항
Notion widget도 그렇고 apption도 그렇고 많은 수의 위젯을 사용하려면 유료 옵션을 사용해야한다. 더럽고 치사한 자본주의 사회
